- Published May 10, 2013 in In The Studio
A few thoughts on overhead mics for catching great cymbal sounds and theory about mic’ing the kick drum.
The overheads overview.
It all starts with your overheads. Two mics are placed over the kit and are there to capture the cymbals, but can also get an overall close kit sound too.
Lots of people use what is called X/Y mic’ing, although it’s easier to think of it as V-shaped. X/Y is placing two mics next to each other with their capsules at a 90 degree angle to each other. Imagine two mics each with their capsules at the end, like a tube with the end being the capsule. Now imagine the tube place standing up with it’s capsule on the table, like the bottom of a salt shaker.
Now take the other tube and lay it on its side and move it in front or behind the standing tube and make sure the ends of the tubes line up to each other, with the end of the laying tube overlapping and going to the outer edge of the standing tube. If you held them together, picked them up and turn them from L-shaped to V-shaped, you will have the X/Y position (both mics looking down). This is an X/Y stereo overhead.
Plan B.
Another way to get good overheads is placing a mic on either side of the kit looking straight down, one between the hi hat and rack tom (typically over a crash cymbal), and the other mic over the ride cymbals.
How high above the kit depends on the kind of music. For Jazz, you’ll want the overheads closer to the kit because most of your mix will come from these two mics; for rock, try 5 to 6 feet above the floor. If you have a stereo condenser mic or stereo ribbon mic, just place it center above the kit, either looking straight down or looking a little to the front of the kit.
The overheads should not be above the front side of the cymbals–they should be off the back side (drummer side) of the cymbals. The mics should be in a straight line dissecting the kit. I generally use large diaphragm condenser mics on either side of the kit as my standard overhead setup.
When you track, either use a stereo compressor or none at all on these mics.
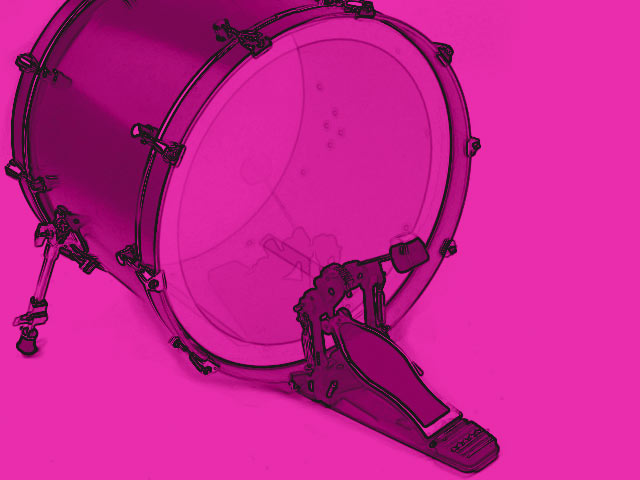
The almighty kick drum.
There’s always the “hey, have you tried this” technique in mic’ing–lots of gimmicks and strange techniques. Some work and some are just trying to be different or back flips for nothing usable.
There is one of these kind of things I do love and recommend. I have a worn out 6 inch speaker which I wired to a mic cable (positive to positive and negative and ground of the XLR cable are tied together at the speaker). I place the speaker almost touching the front kick drum head and almost dead center. It sounds like ass by itself but it’s really only there to capture the sub lows of the kick, and, when blended with the other kick mic(s), it gives a low that EQ just won’t get.
Watch phasing–out of phase will make the kick tiny! I use a dynamic mic inside the kick. I cut a small hole in the front head and put the mic 6 inches away from where the beater hits the head, sometimes a little off center, but always parallel to the head.
If you have the luxury, you can try putting a large diaphragm mic right at the front of the cut out or move the mic to sit about 2 to 3 feet in front of the kick, a little above dead center. Again, watch phasing!
The other thing I prefer, is to make a tunnel around the kick drum. I use blankets that lay over the kick drum that extend to the floor and out about 3 feet. This tunnel will give you less “bleed” from other drums getting into your kick mics which will give you more control and flexibility without taking away too much of the kicks level into the room.
I don’t use blankets inside the drum–I generally use heads with their own dampening systems. If you’re not using a dampening system then definitely a blanket that touches either the front of back head or both is needed. I also like a click-pad (a round dot that sticks to the head where the beater makes contact), but that’s me. I generally have both heads lightly clamped down – almost on the edge of a little plastic sounding.

